At-Home Building Bar Activity: Halloween Décor
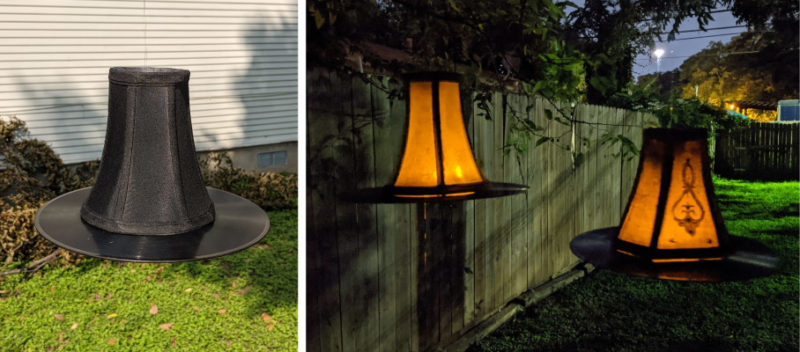
DIY Illuminated Witch Hat
Halloween is almost here, and we have another low-cost DIY décor project that will be sure to delight your family and neighbors. The best part is that you’ll likely have a lot of these items at home, but if not, ReStore is there to help!
Step 1: Gather materials
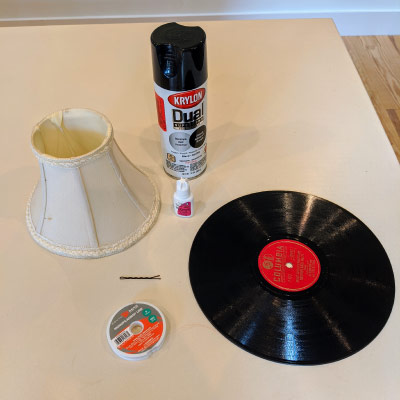
Here’s what you’ll need –
- Record
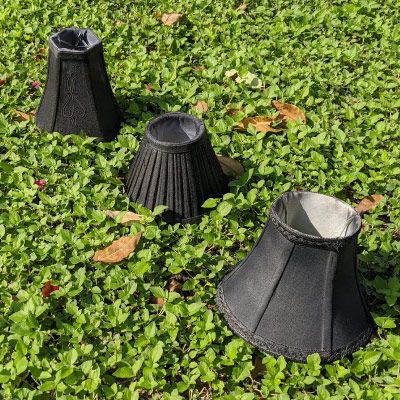
- Lamp shade (ones with fixtures in the top center of the shade work best)
- Black spray paint
- Glue
- Fishing line
- Bobby pins
- Tea light candles (battery-powered)
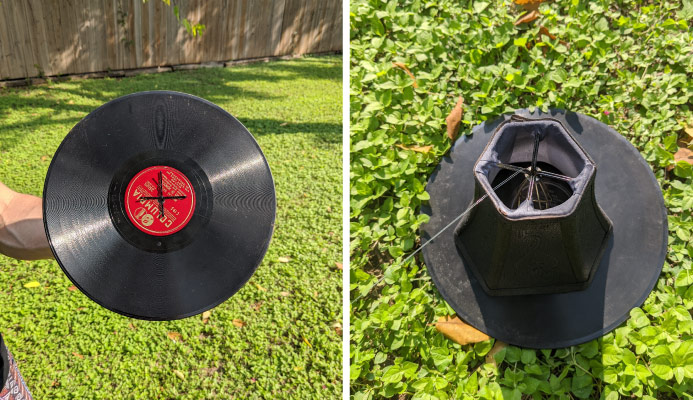
Step 2: Wash the record if needed
This will ensure a nice clean surface to build the rest of the hat!
Step 3: Spray paint the lampshade
Follow the instructions on the spray paint can and coat the entire lampshade.
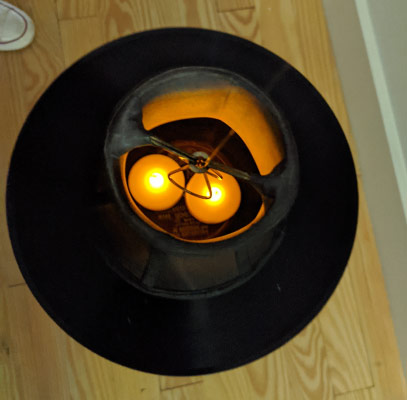
Step 4: Form the hat by attaching the record to the lampshade
Take a bobby pin and thread some fishing line through it, so both ends of the line are together and the bobby sits halfway down the line. Feed the line through the center of a record, then pop another bobby on and form a cross under the record. When the line is through and the bobby pins are in place, take the line and thread it through a lampshade.
Tip: It helps if you can go through the hardware at the top of the shade as shown.
Step 5: Insert tea light candles
Lift the hat and drop a couple of battery-powered tea light candles in the center. Once the lights are on, you can choose whether or not to glue the shade down to the record.
Step 6: Hang up the hat
This décor item would look great inside or outside! “Witch” will you choose?