At-Home Building Bar Activity: Fall Decor (Part 1)
DIY Pumpkins
The fall season is officially here! To mark the occasion, we’ll be focusing these DIY workshops on how you can create high-fun, low-cost home décor that can be used for both Halloween and Thanksgiving.
Fall, Halloween, and Thanksgiving all have one thing in common – pumpkins!! – so that’s what we decided to start with! These pumpkins will also be able to last from early September to the end of November year after year.
Step 1: Gather your materials
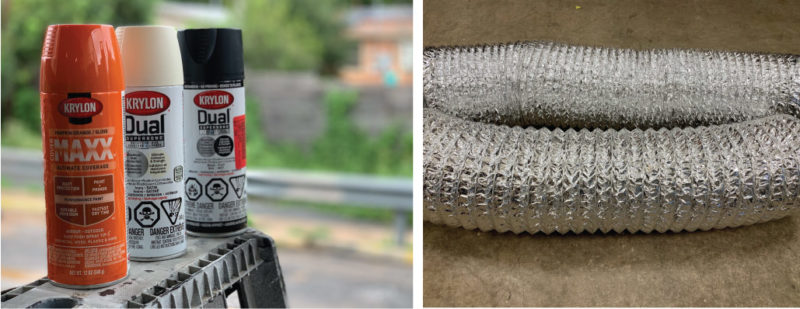
Here’s what we used:
- Large dryer duct (based on the way we cut, we were able to make three pumpkins)
- Spray paint (we chose Pumpkin Orange / Gloss, Black / Flat, and Ivory / Satin – just make sure the can says it can be used on metal)
- Box cutter (or sharp object strong enough to safely cut through the dryer duct)
- Zip ties (used to fasten the two ends of the duct together to create the pumpkin shape)
- Scissors (to cut excess zip tie off)
- Paint stirrer sticks (for the stem; quantity depends on number of pumpkins)
- Saw (for cutting the paint stirrer sticks to the proper size)
- Small can of green paint (we used some extra bright Habitat green we had on hand!)
We opted to utilize home improvement items that we could find at the ReStore, but feel free to mix up how you create the stem and decorate your pumpkins. There’s no wrong way!
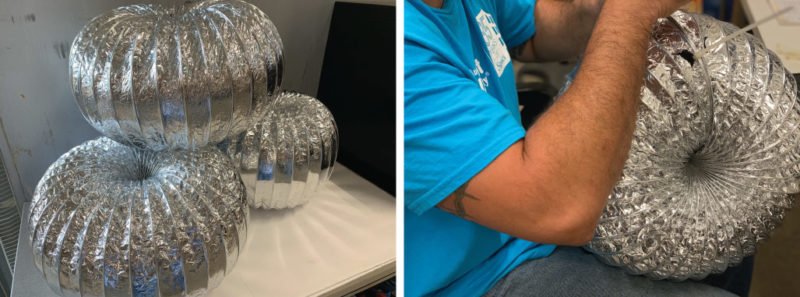
Step 2: Create the pumpkin out of the dryer duct and affix zip ties
There’s a little bit of trial and error in this step. We began by cutting the duct in half to make it more manageable. Then, we just started forming the shape of the pumpkin, and when we had the desired look, we cut. Make sure you are fully stretching out the duct and don’t have a ton of excess material otherwise it won’t look like a pumpkin. Our duct ended up providing three pumpkins. To keep the shape, we cut small holes and used zip ties. Cut off the excess amount of plastic on the zip tie after securing. The part with the zip tie is now the back of the pumpkin and will show less after the spray paint phase.
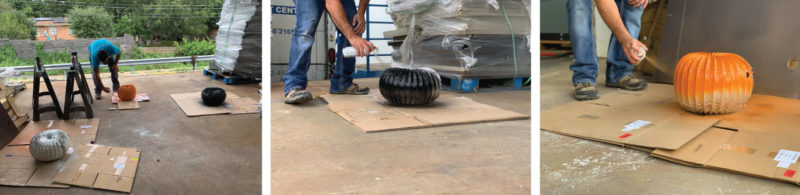
Step 3: Add color to the pumpkins
Follow the instructions on the back of the spray paint cans. For best results, apply multiple thin coats, shake the can well at the beginning and after every minute of use, and beware of drips! Let the paint dry to touch before handling (we flipped it over between coats) and overnight before moving on to the next step.
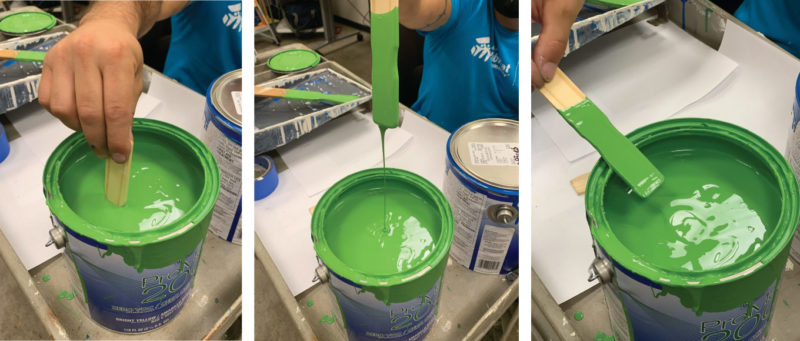
Step 4: Create and attach the stems
Take the paint stirrer sticks, and hold them up to the pumpkin to get an idea for the length you’d like. Then, cut as many as you need and dip them into the green paint. Wipe off excess and let them dry. No need to get it fully green as you’ll be able to hide the bottom inside the pumpkin.
Make sure both the stems and the pumpkins are dry before assembly. Just stick the stem into the center of the pumpkin to complete the look.
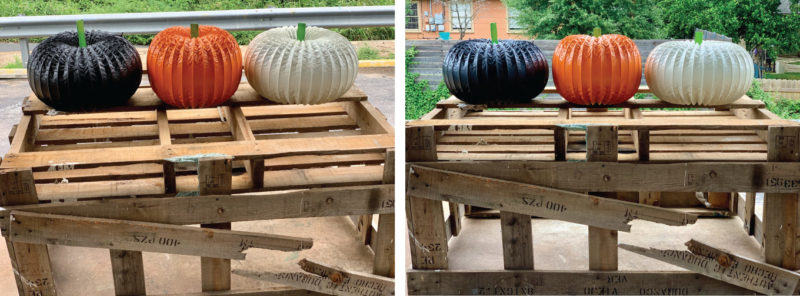
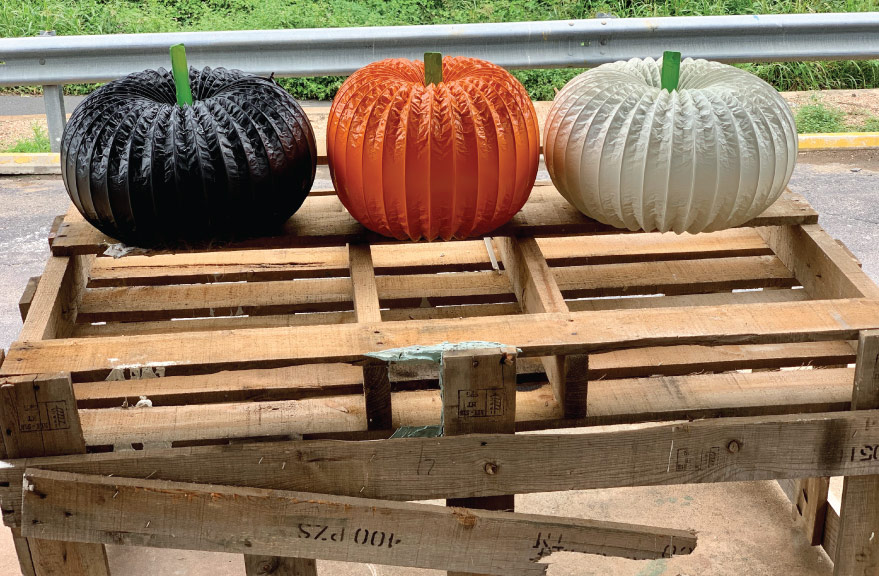
Step 5: Enjoy!
Put these on your dining room table or on your porch, and enjoy these pumpkins for years to come!