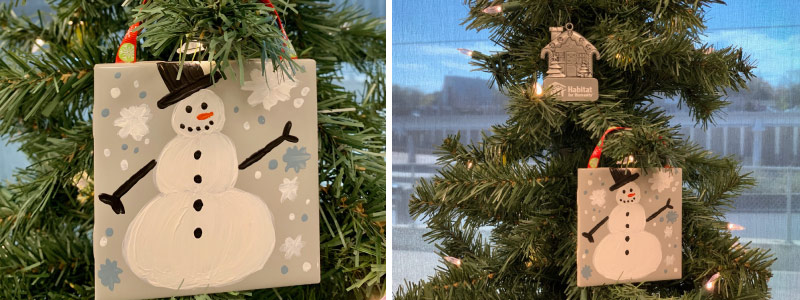
At-Home Building Bar Activity: DIY Ornament
DIY Tile Ornament
Make memories with leftover home improvement items! This is an easy, fun, and creative way to spend time with the entire family! It also promotes reuse and the idea that there is still value in secondhand items.
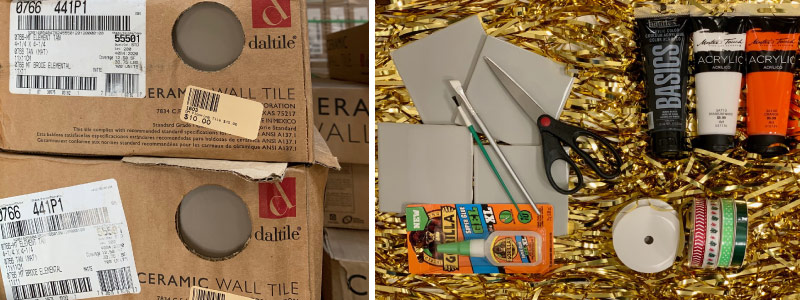
Step 1: Gather materials
Here’s what you’ll need –
- Tile
- Ribbon (we used 3/8 in)
- Paint
- Super glue
- Scissors
- Paintbrushes (including one that you are ok getting super glue on)
- Paper plate
- Cup of water
FYI The ReStore usually has a ton of leftover tile in the donated flooring section for a great price.
Step 2: Cut and attach ribbon to tile
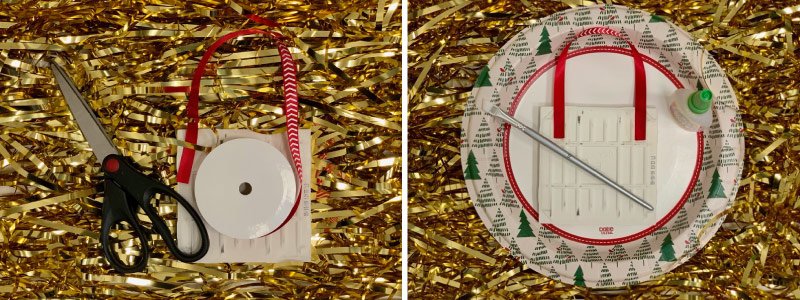
Cut approximately 9-10 inches of ribbon. This will serve as the ornament “hook.” Completing one side at a time, carefully put super glue into the crevices closest to the edge. Hold in place for approximately 45 seconds or until it feels secure. We recommend using a pen lid or paint brush for this — just something other than your finger. After both sides feel secure, use a small paint brush to smooth out any super glue that may have squeezed out. Let this fully dry before flipping it over to decorate.
Pro tip: Contain the mess by using a paper plate as your work surface. Protect your surroundings as much as possible since you are using super glue and paint for this craft.
Step 3: Decorate the tile
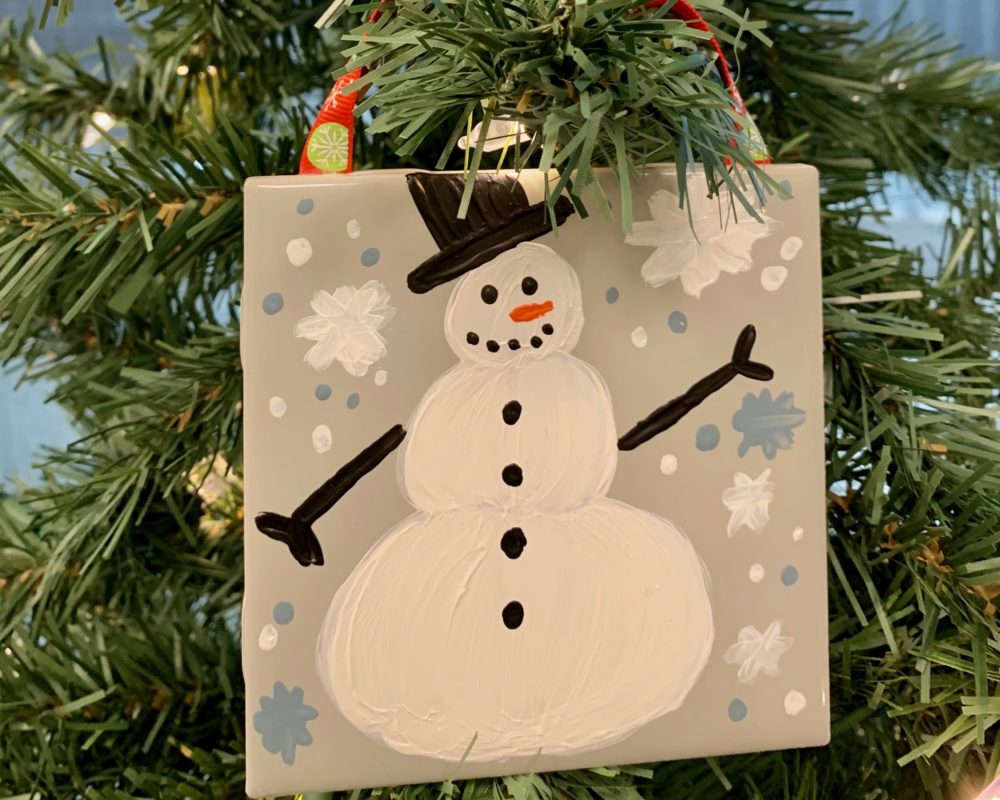
We chose to make a snowman surrounded by snowflakes. Get creative! Make the ornament even more special by using your kids’ fingerprints or small hands. Before moving on to the next step, make sure everything is fully dry.
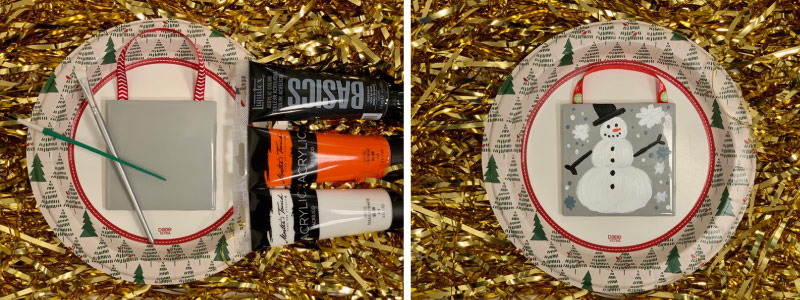
Step 4: Display your ornament creation on your tree
Find a sturdy branch on the tree, and hang your DIY ornament for all to see!
