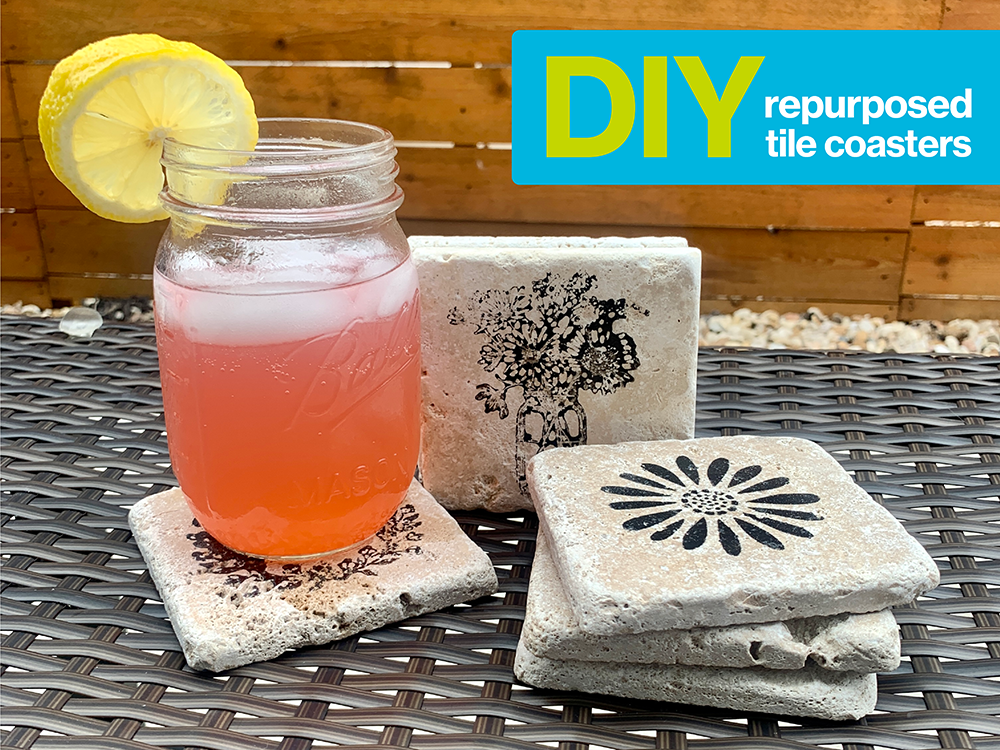
DIY: Repurposed Tile Coasters
At the ReStore, we’re all about giving items a second chance. With a little DIY flair, we turned leftover tile from flooring and backsplash projects into coasters you’ll use every day. The best part? Most of the materials you see can be found in the ReStore!
Step 1: Gather materials
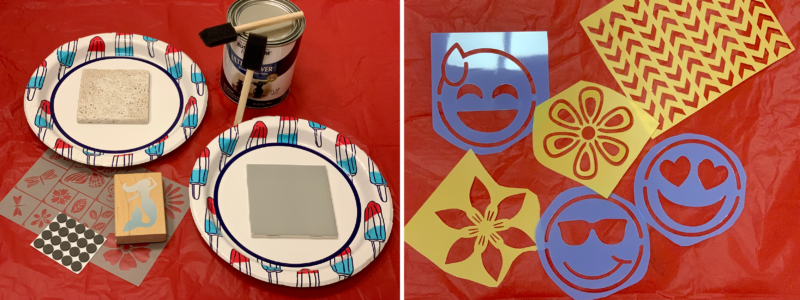
You will need:
• Stone tile (available in the ReStore’s flooring section—we scored a large pack for just $5!)
• Paper plate
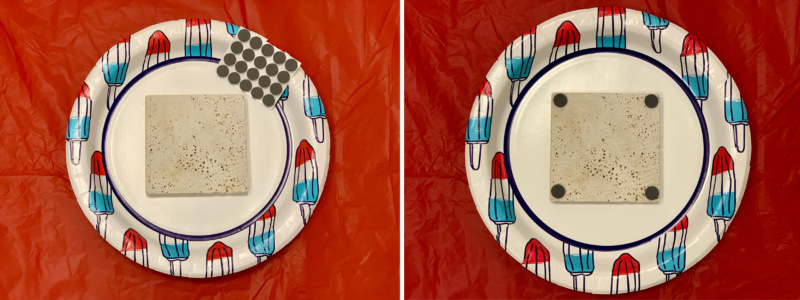
• Self-adhesive bumpers
• Stencils or stamps
• Latex paint (we used flat indoor/outdoor)
• Paintbrushes
Step 2: Attach bumpers
Stick the bumper pads to each corner of the bottom of the tile. These will ensure the tile doesn’t scuff up your tabletop. Since we’ll be using paint in the next step, we used a paper plate as our work surface for easy cleanup.
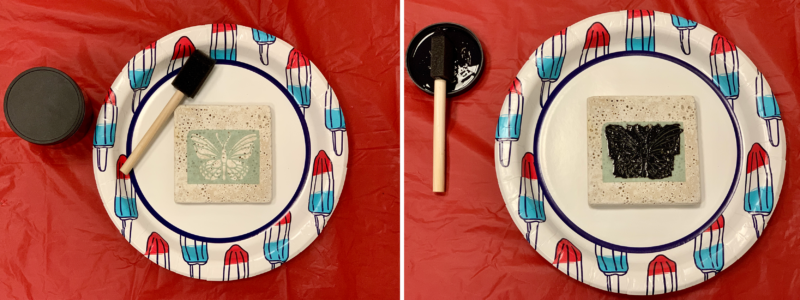
Step 3: Paint the tile
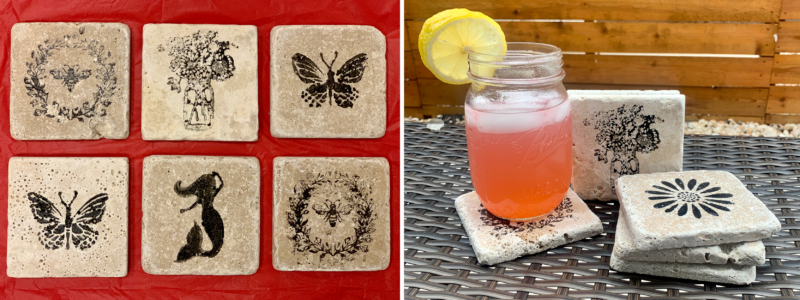
Choose your stencil and affix it to the tile. To avoid any paint seeping through, make sure the stencil is pressed completely flat against the tile. We used adhesive-back stencils, or you can secure regular stencils with tape.
Stamps work great for this craft, too—or get creative with freehand painting! The possibilities are endless.
With your paintbrush, use just enough latex paint to cover the stencil. Less is more! Any sparse areas can be touched up with a smaller brush later.
Step 4: Enjoy!
Once the paint is completely dry, remove the stencil and admire your new coaster creation! With their durable stone tile and latex paint, these coasters need no sealer. Kick up your feet and enjoy a cold drink knowing that you just saved reusable materials from the landfill!