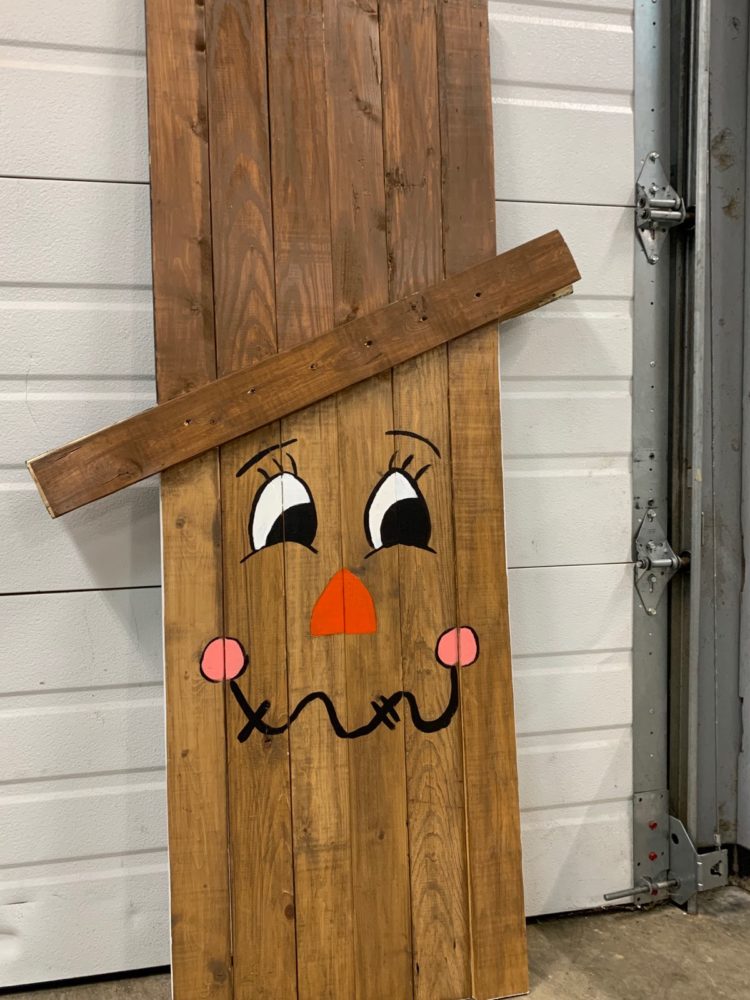
At-Home Building Bar Activity: Fall and Winter Seasonal Decor
DIY Fall/Winter Decor
The only thing better than one piece of décor is TWO! Like many of our projects, we focused on budget-friendly pieces that could be utilized for as long as possible. This DIY activity can charm your front porch from September to January with just a flip!
Step 1: Gather materials
Here’s what you’ll need –
- Wood
- Saw
- Drill & screws
- Sawhorses
- Stain wipes (two brown colors)
- Gloves
- Black, white, pink, and orange paint that can be used on wood
- Various paintbrushes/rollers
- Pencil and eraser

Step 2: Cut and assemble wood into the shape of the scarecrow/snowman
We grabbed pieces of scrap wood from the ReStore’s lumber section to create the face and hat of both characters. Originally, the wood was 1” x 4” x 8’, and we cut it down to be 1” x 4” x 5’. You’ll need six pieces (or less depending on the size of the wood you get). Then, each hat brim is 35” long. It was secured by drilling in screws through the brim of the hat on one side. You can add more support if you’d like.

Step 3: Stain the scarecrow side
We used Minwax premoistened wood finishing cloths from the ReStore – natural oak for the scarecrow’s face and chestnut for the hat. Be sure to wear gloves for this step, and use as many cloths as needed to achieve the desired look. We used two for each part of the scarecrow.

Step 4: Paint the snowman side
After the scarecrow side has dried, move on to the snowman. White and black paint from the ReStore was used and applied with small rollers. We also used paint brushes as needed for small spaces located near the hat.

Step 5: Sketch faces on both sides with pencil (if needed) and then go over and fill in with paint
You can create whatever type of facial expressions and colors that you want! We practiced on paper first and then moved to the actual wood piece. The eraser came in handy as we sketched on the wood.


