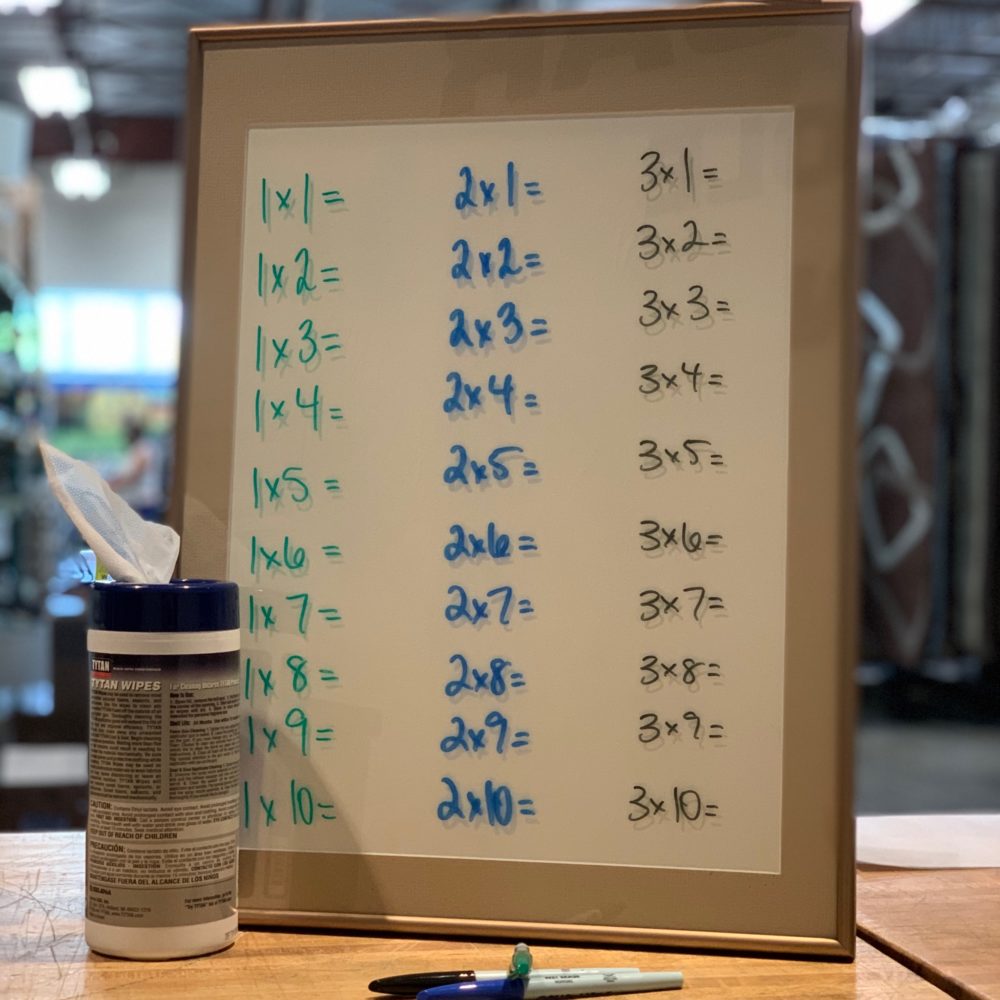
At-Home Building Bar Activity: Back to School (Part 1)
DIY Dry Erase Board
The new school year is upon us, and with much of the learning experiences taking place at home, that means purchasing more school supplies and tools than usual. This month’s DIY workshops will focus on how you can take excess home goods and building materials and transform them into learning devices.
First up, we’ve made a dry erase board out of a large photo frame. This is a great way to save time, save money, and give second life to an item.
Step 1: Locate a photo frame
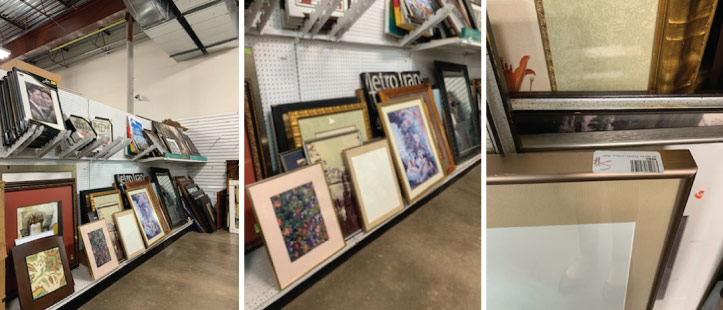
The ReStore has an amazing assortment of frames, artwork, and mirrors available to purchase for an affordable price. Immediately, the perfect frame was spotted and is priced at only $5.
Step 2: Customize your frame (optional)
This step is totally optional, but you could add some personality to your dry erase board by:
- Inserting scrapbook paper for a fun background (be sure that the design or color of the paper doesn’t interfere with the visibility of the markers)
- Adding stickers to the outer part of the frame
Step 3: Gather materials
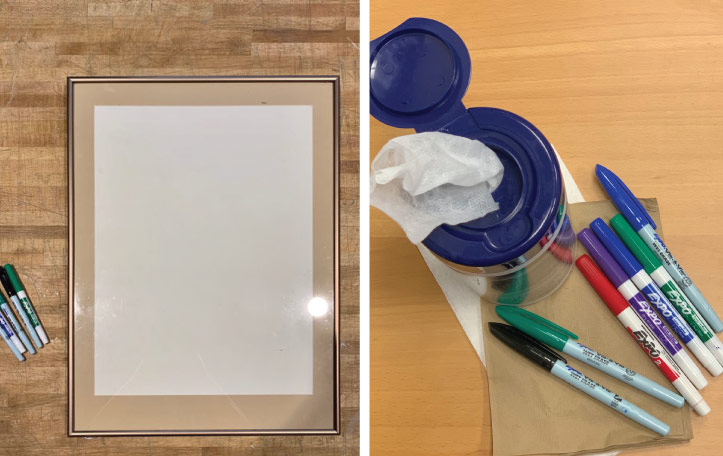
Before you get started on math problems or vocabulary words, prep the materials you’ll need for clean up so that learning is uninterrupted.
- Dry erase markers
- Wet wipes or glass cleaner
- Paper towels
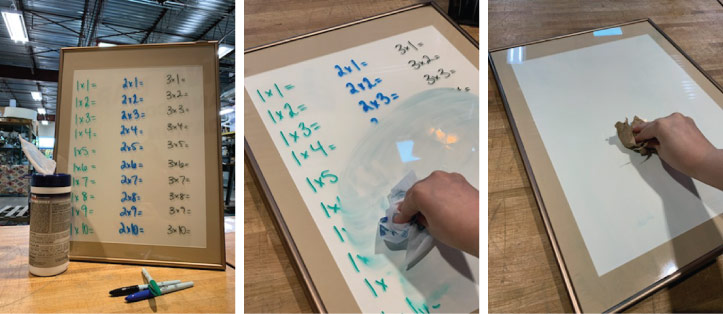
Step 4: Learn, clean, and repeat!
Helpful tip: Make sure the surface is completely dry before using your markers again!
Next up, DIY chalkboard!


